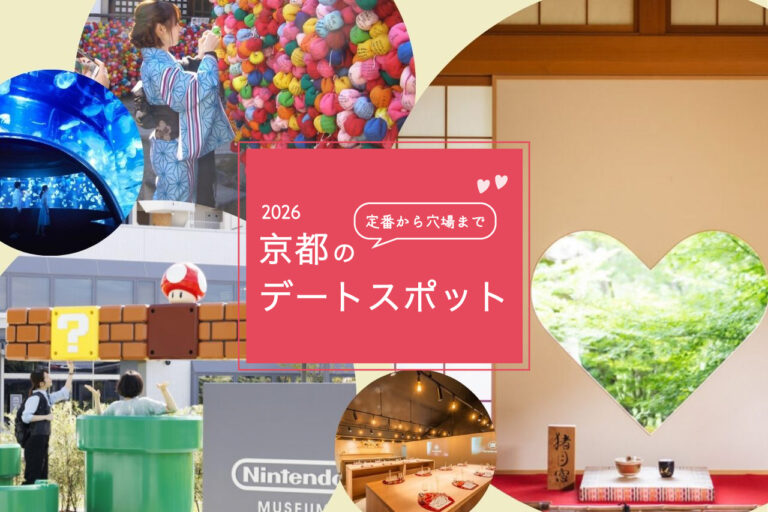
[2026]定番から穴場まで!京都のおすすめデート...


Nintendo Museum] finally opened in Uji and Kokura on October 2, 2024 (Wednesday).
The facility is designed to enthrall people of all ages, allowing them to experience nostalgic games updated with the latest technology, and to be overwhelmed by the game consoles, game software, toys, and other products from [Nintendo]'s past.
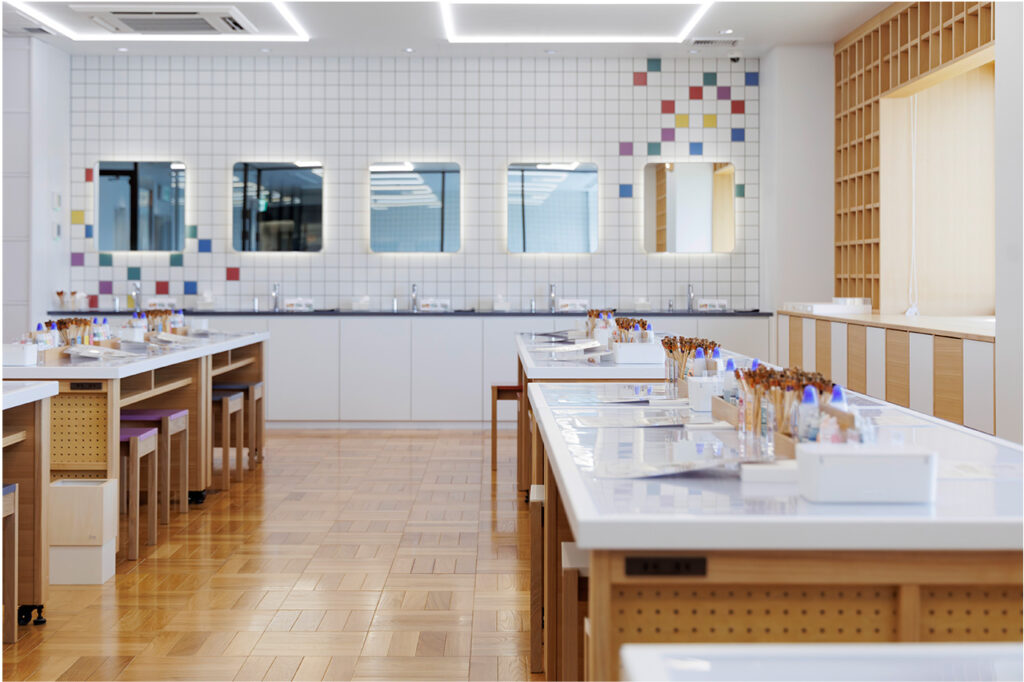
Among them, we challenged the paid workshop "Let's make Hanafuda (Japanese playing cards)" this time. The editorial staff actually tried their hand at making hanafuda (Japanese playing cards)!
Nintendo is now world-renowned as a video game console manufacturer, but its origins actually lie in hanafuda (Japanese playing cards). [In the workshop "Let's make Hanafuda" held in the craft room of the Nintendo Museum, anyone can easily make Hanafuda using a special kit.
Hanafuda (Japanese playing cards) are now made by machine, but 130 years ago, when Nintendo was founded, craftsmen made each card by hand. Visitors can simulate the process of those days by selecting a pattern, applying colors, folding, and pasting them together.
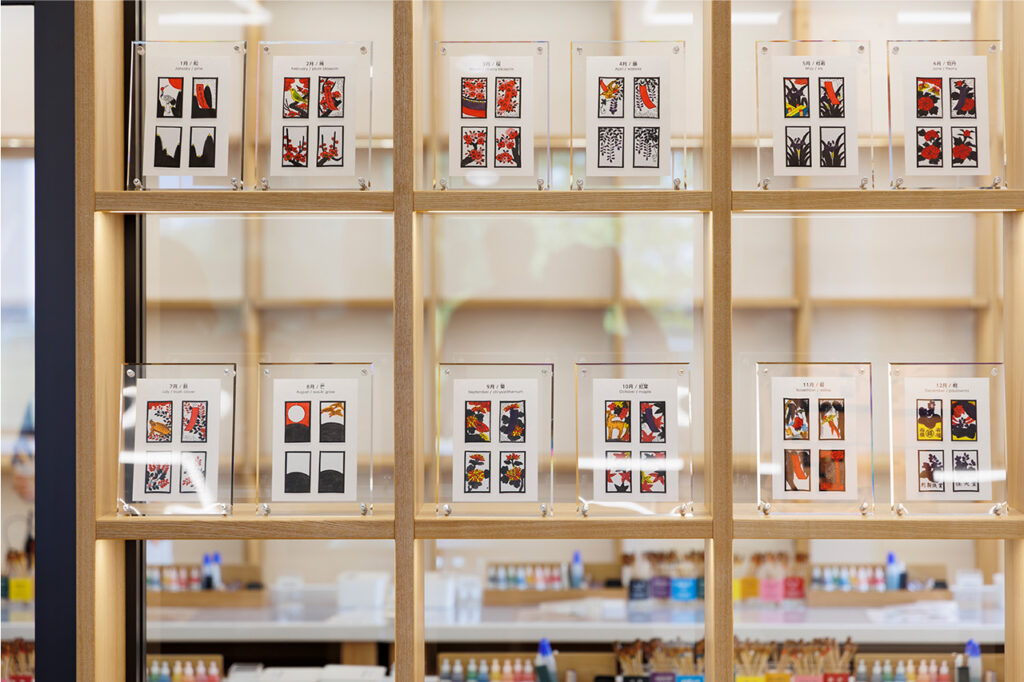
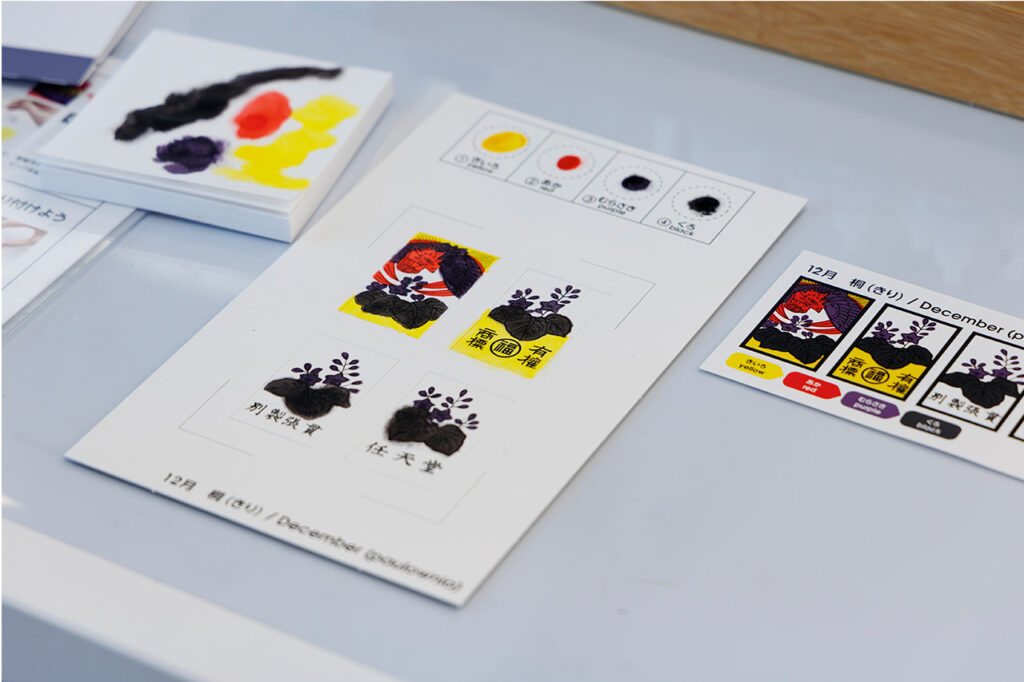
Proceeding to the 2nd floor through the café in the 3rd Exhibition Hall, you will find the workshop, with a row of hanafuda (Japanese playing cards) lined up at the entrance. A total of 48 hanafuda cards depict the seasonal flowers, birds, winds, and months of the 12 months. Visitors first select their favorite month at the reception desk, and four cards each depict a scene from one of the four seasons in Japan: plum blossoms and Japanese bush warblers in February, cherry blossoms in full bloom in March, silver grass and a full moon in August, and so on.
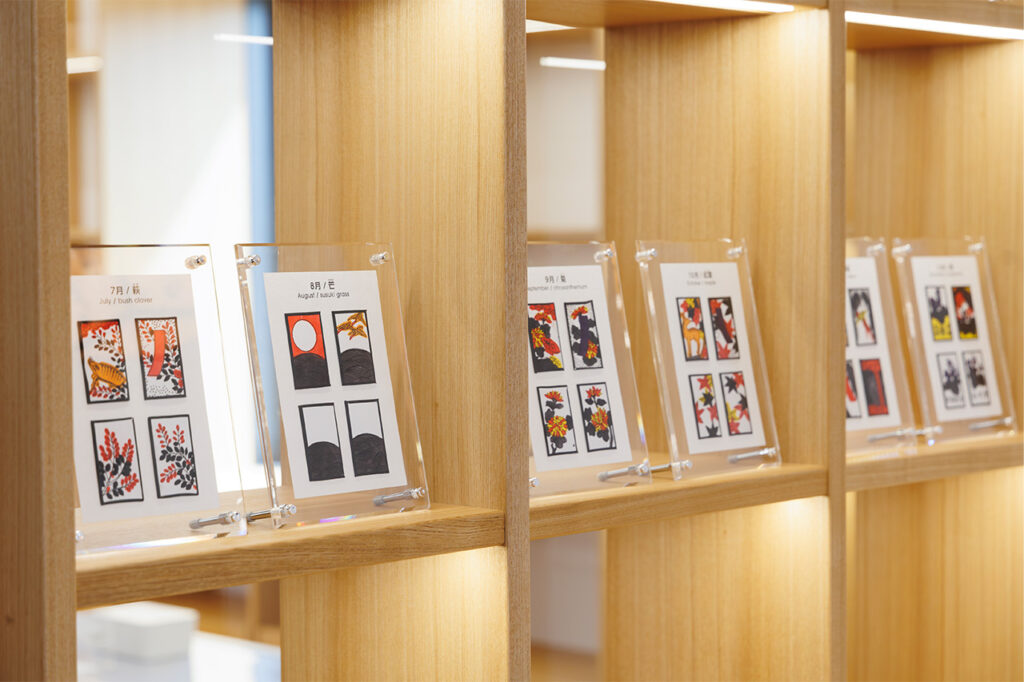
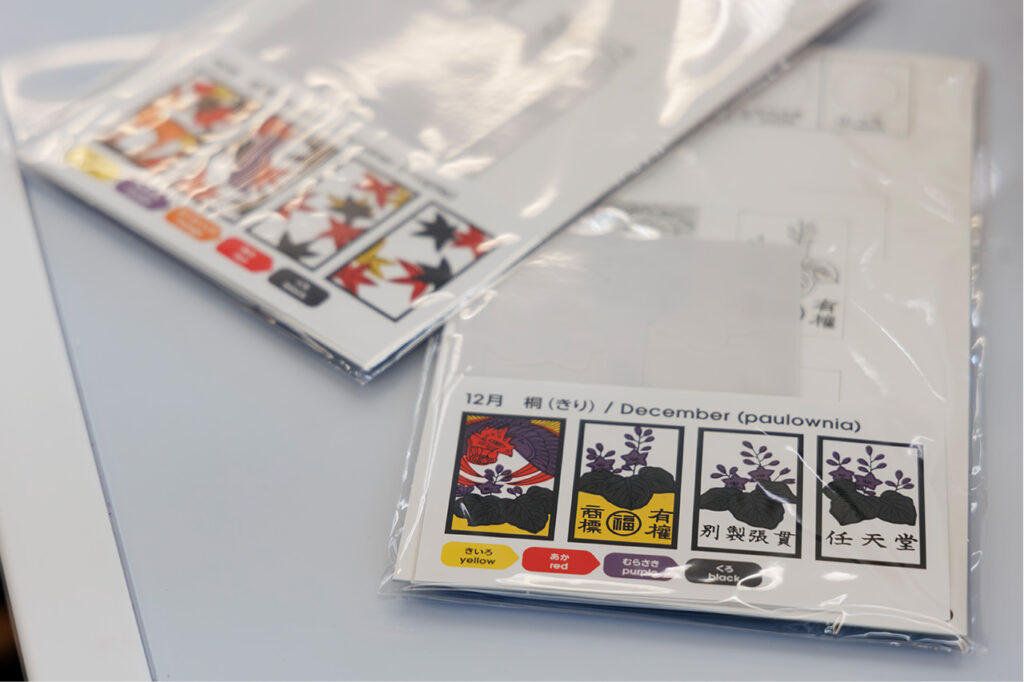
People can choose according to the current season or according to their own birth month or month of memories. The month of December in particular has the name [Nintendo] on it, so that is also popular. All the designs were so beautiful that it took me a long time to choose one. After much hesitation, I decided to make hanafuda with beautiful autumn leaves and deer for October and cool phoenixes and paulownia flowers for December!
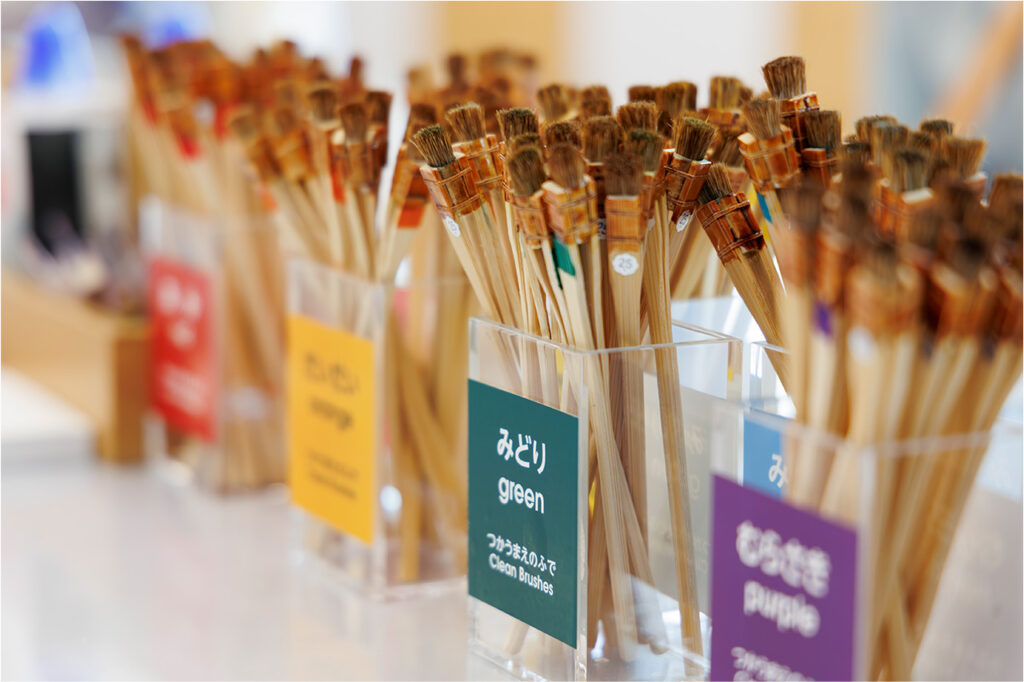
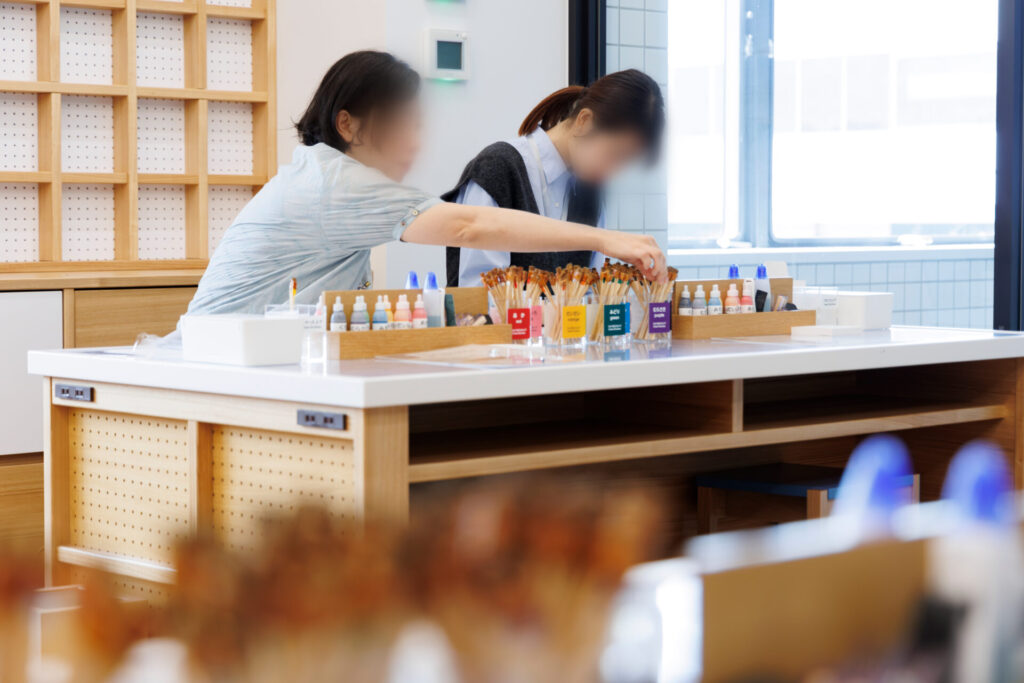
After selecting the hanafuda to be created, move to the work table lined with colorful inks and brushes. The colorful and bright space makes us excited. Everyone starts making the cards at once. Staff members are nearby, so if you have any questions about how to make a card, you can ask them right away.
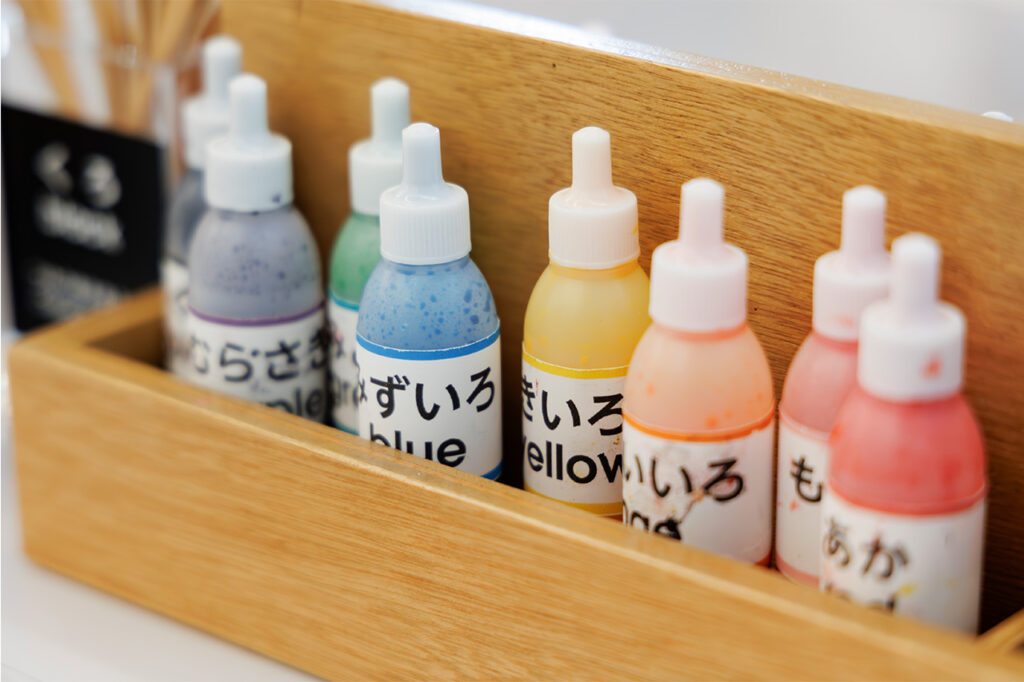
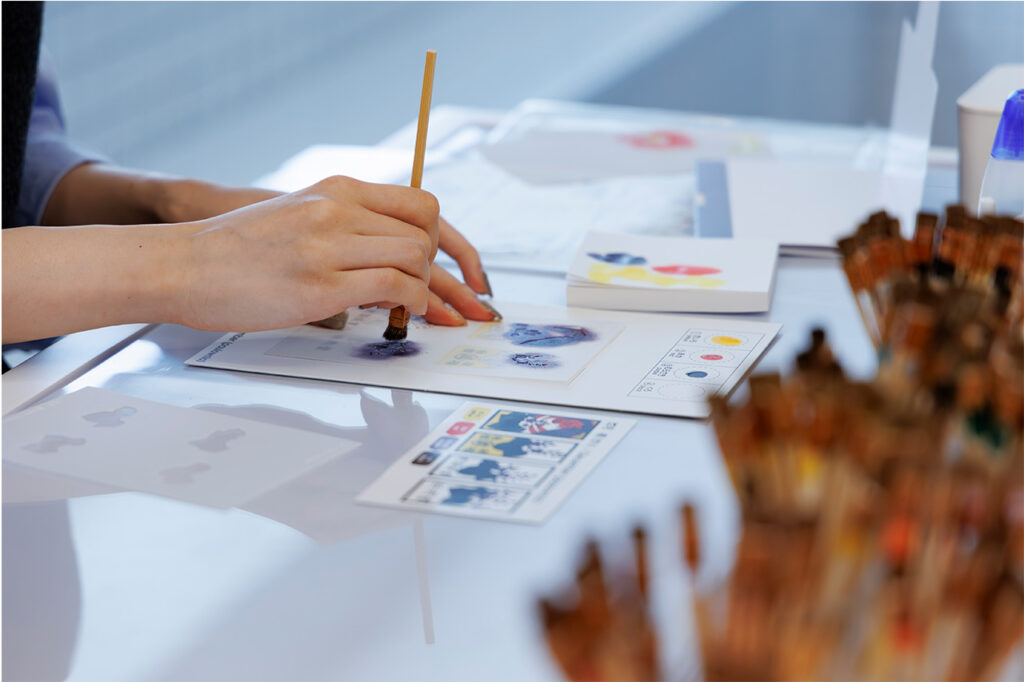
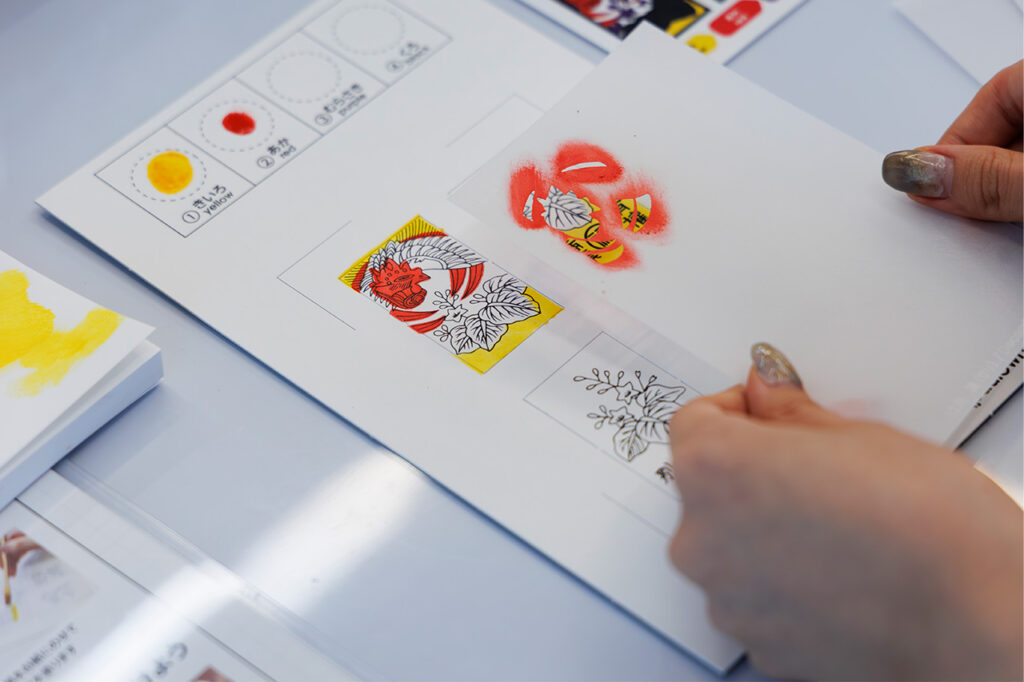
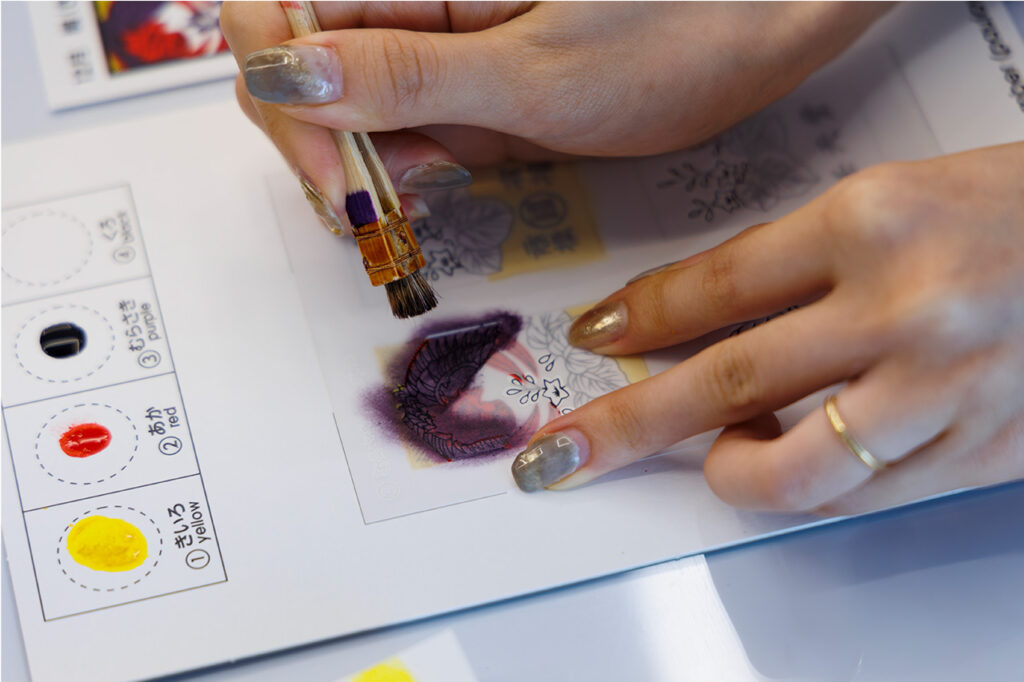
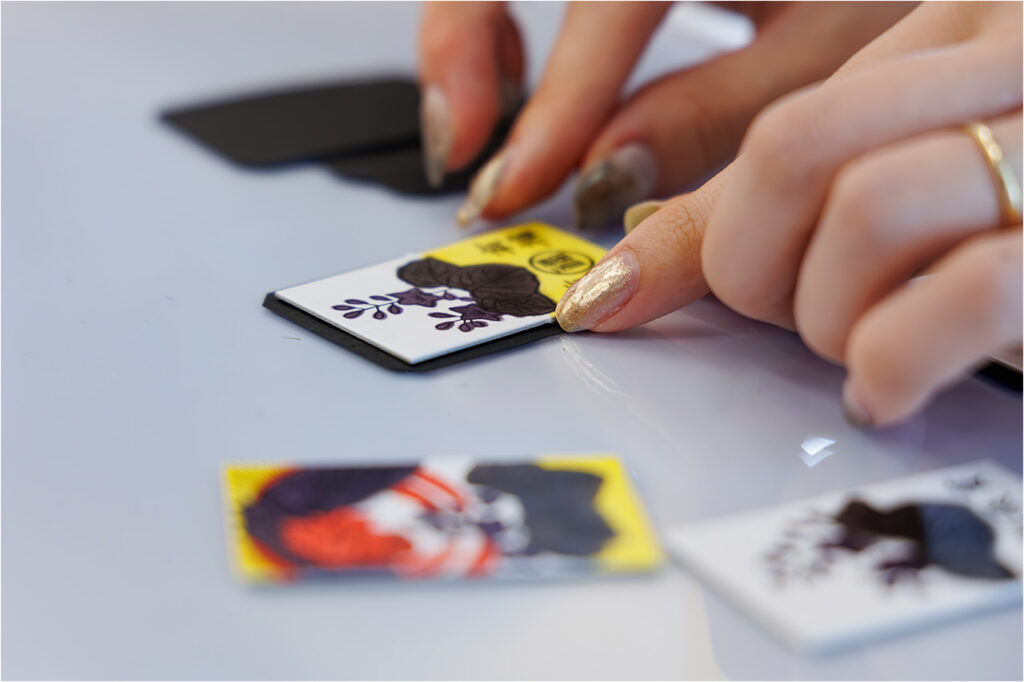
The colors used for Hanafuda vary from month to month. First, check the ink colors and the order of application written in the upper left corner of the stencil. The colors are applied by layering the stencil on top of the base paper on which the pattern is drawn according to the instructions.
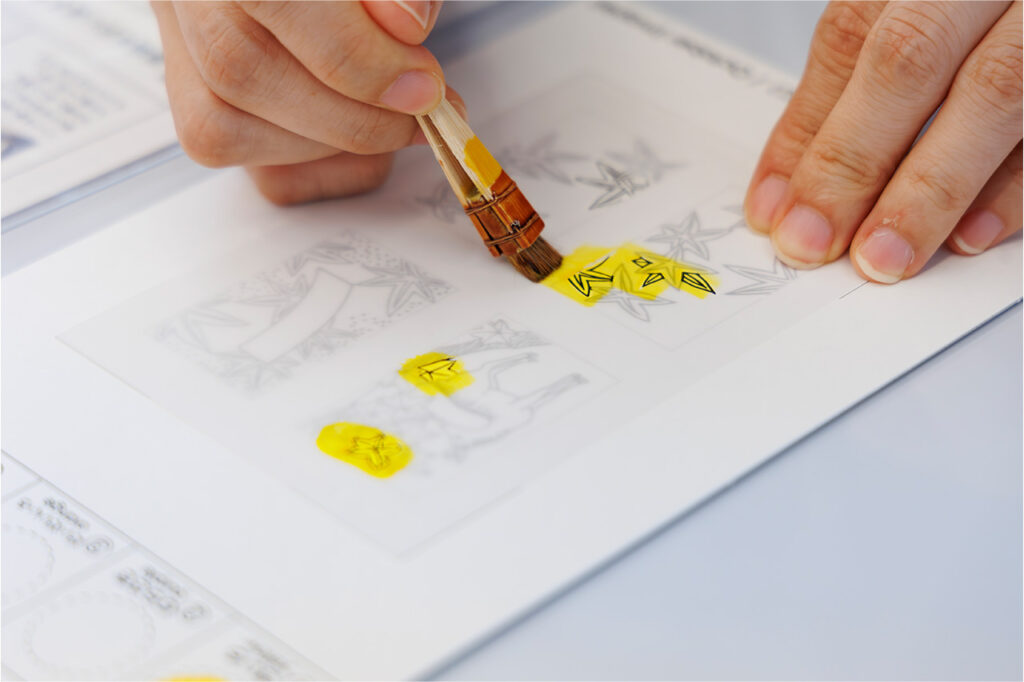
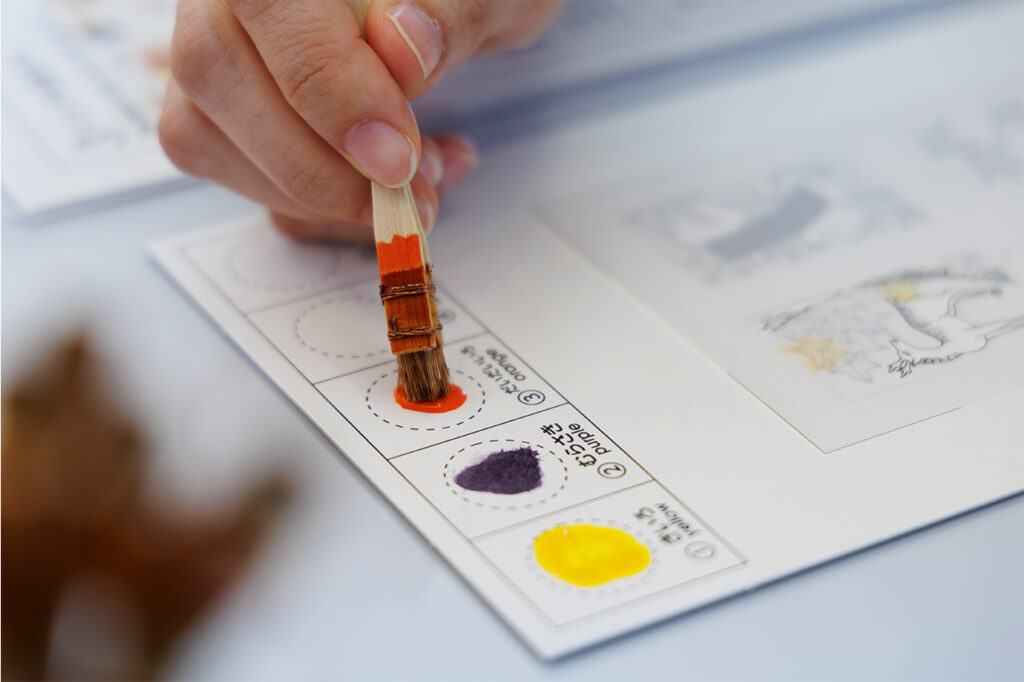

Put a few drops of ink on the base palette, take it to the brush, and blend it with the special paper. The key here is to remove the liquid so thoroughly that the ink is just a smudge. If you apply with a lot of ink on it, it will bleed out of the patterned paper frame.
The darker the color, such as black, the more carefully you need to apply the paint, otherwise blurring will be more noticeable.... But a little blurring is charming! I immersed myself in the work of painting while learning the craftsman's skills.

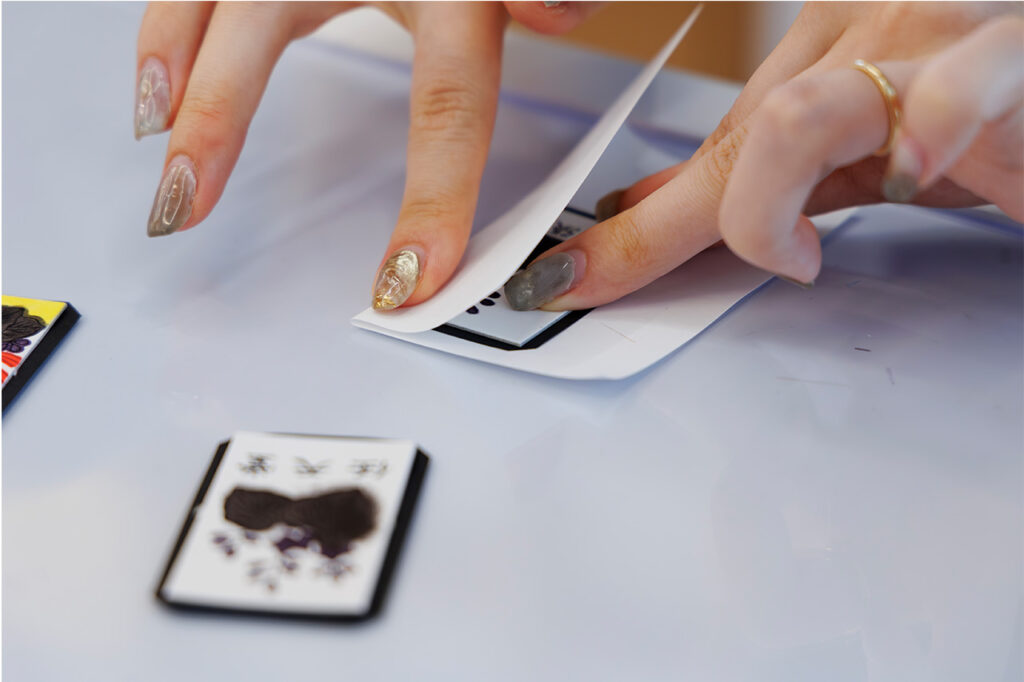
After applying the color, wash the brush and wait for it to dry.
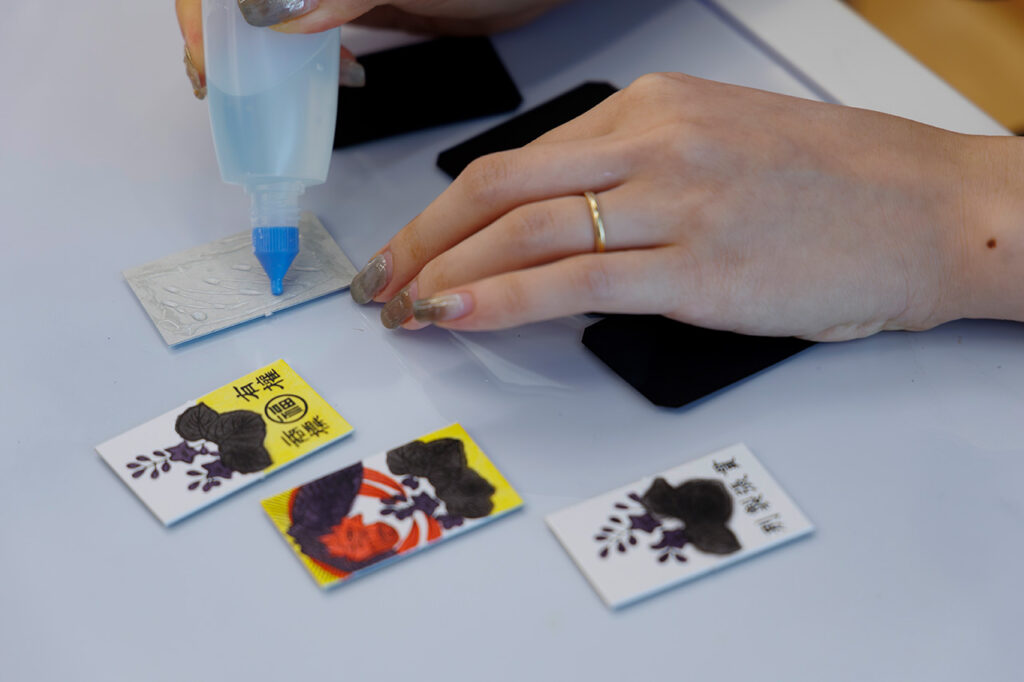
Separate the hanafuda from the backing paper, and if you are concerned about the jagged edges on the sides, use the nail file provided to trim them.
Put a thin layer of glue on the back side of the detached hanafuda and paste it in the middle of the black backing paper.
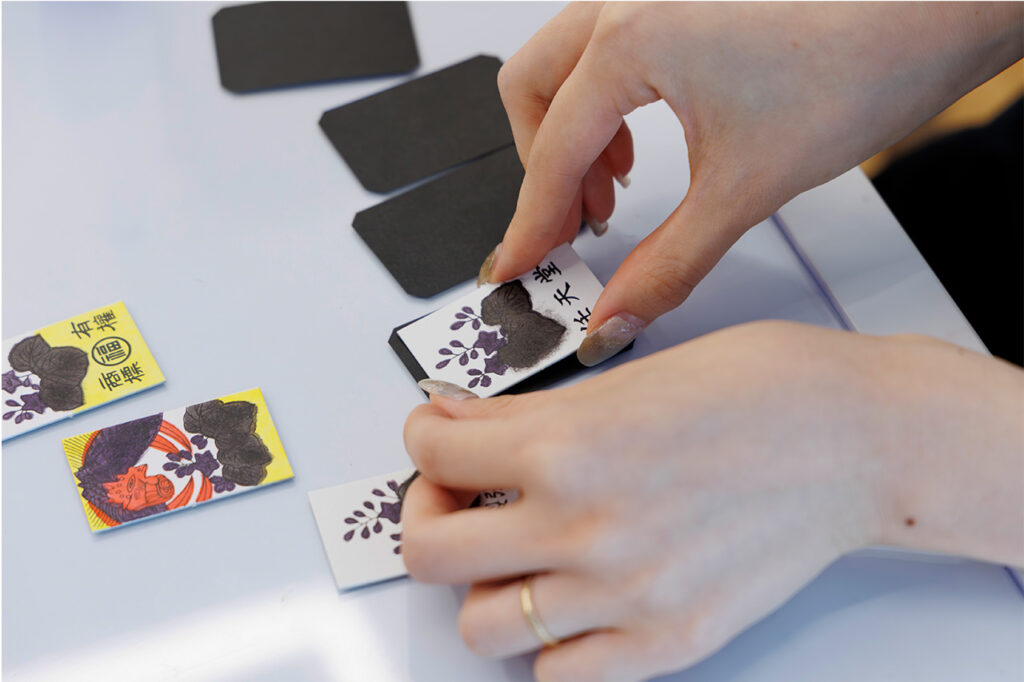
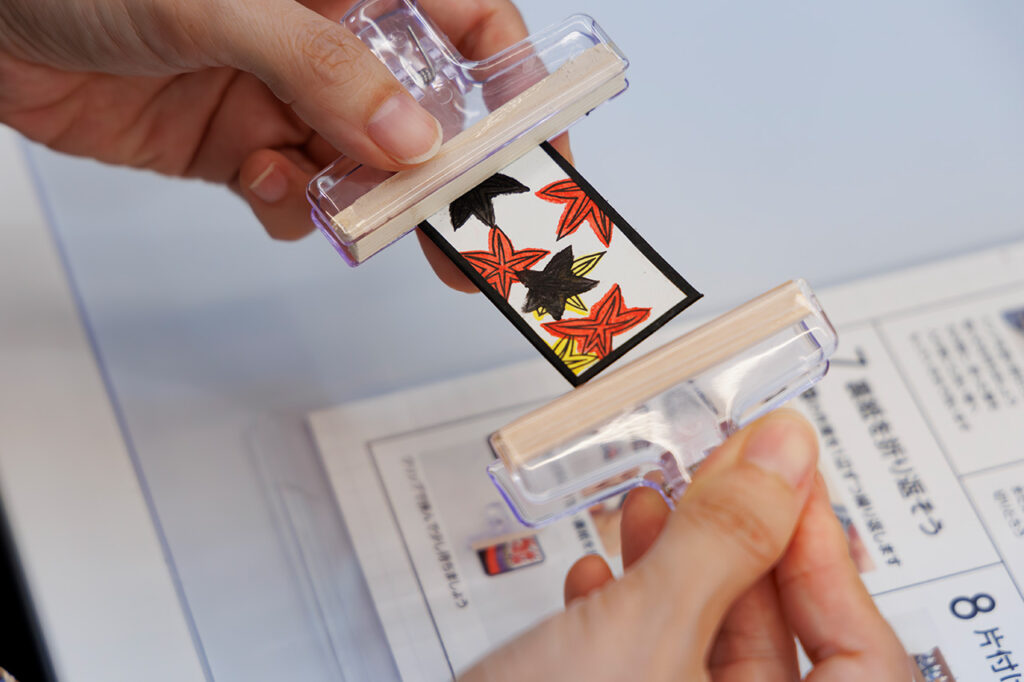
After that, we folded and pasted the backing paper to make a frame. This is more detailed and difficult than I had expected.... Be careful not to apply too much glue or it will stick out and become sticky.
After applying the paint, clip it in place and wait for it to stick.
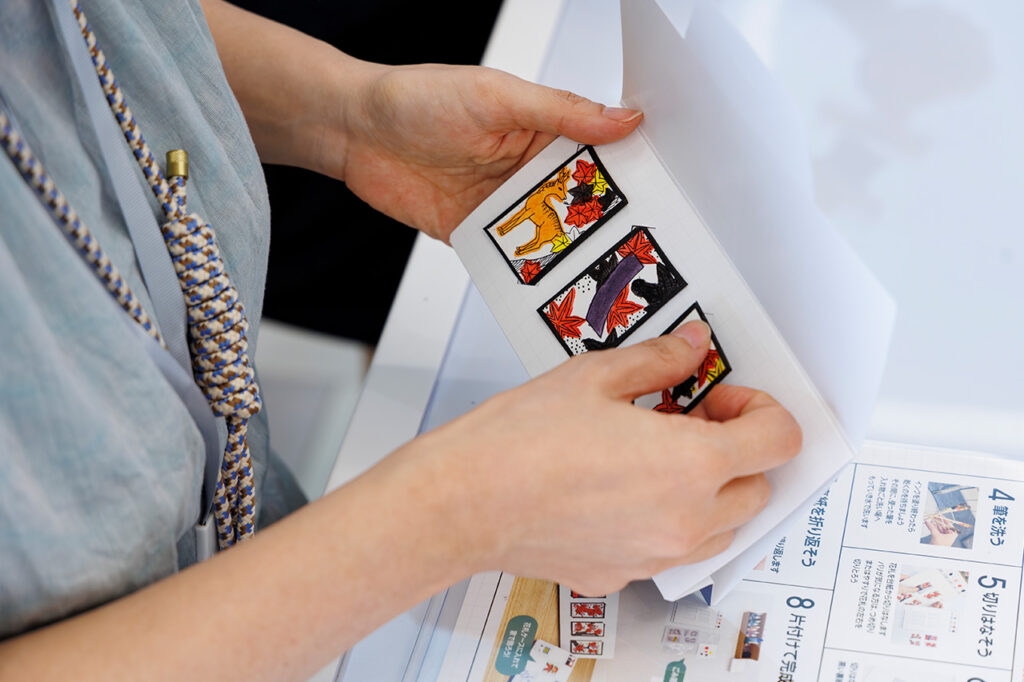
Put the completed Hanafuda in a case and it will look cool! Let's take a commemorative photo on the spot!

It took about 30 minutes to complete! I love it when it is handmade.
Why not display your own precious Hanafuda at home?
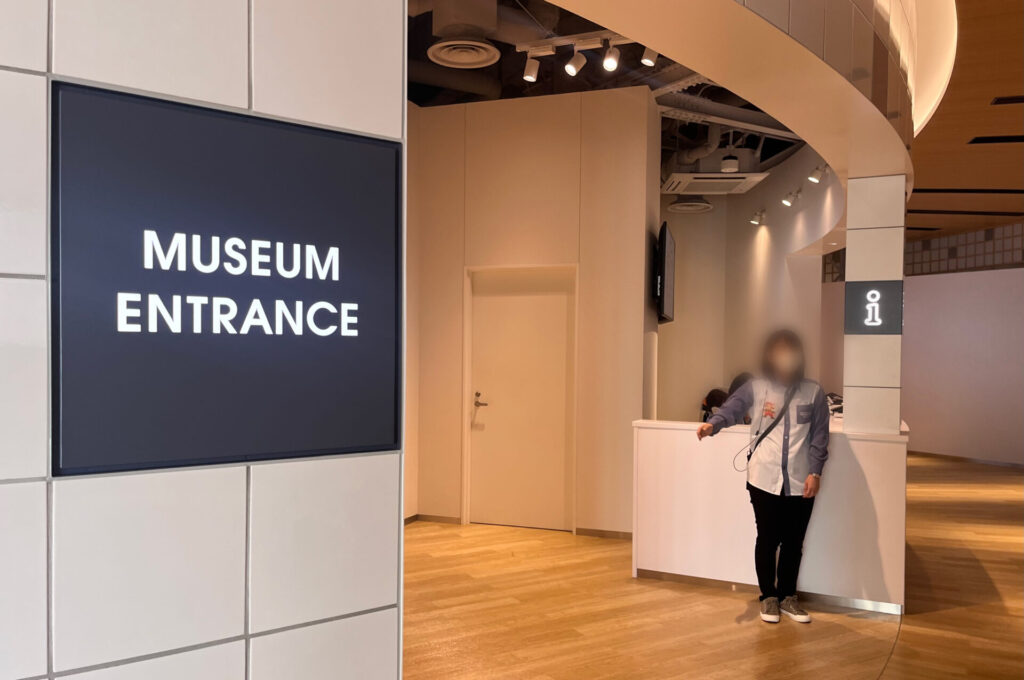
Reservations for the workshop "Let's make Hanafuda (Japanese playing cards)" must be made after entering the museum on the day of your visit. Reservations can be made at the Information Counter in the lobby on the 1st floor of Exhibition Hall 1 or at the Workshop (Craft & Play) Information Desk in front of the Play Room on the 2nd floor of Exhibition Hall 3.
The program is offered five times a day on a first-come, first-served basis, with a maximum of one experience per person. Reservations must be made within 3 hours of entering the museum, and the last entry is at 16:30, so please apply early. The tour starts at the same time each day and takes about 30-60 minutes.


Over 600 interviews per year! An order site carefully selected by the editors who knows Kyoto and Shiga.
nowOfficial LINE friend registration500 yen OFF coupon is being issued!
Distributed every Friday morning at 8:00 am! From new restaurant information to event information that we want to share with you, We deliver articles about Kyoto that are useful to know. About 20,000 people have registered.Click here to add a friend!
 News
News


 Feature article
 Featured event